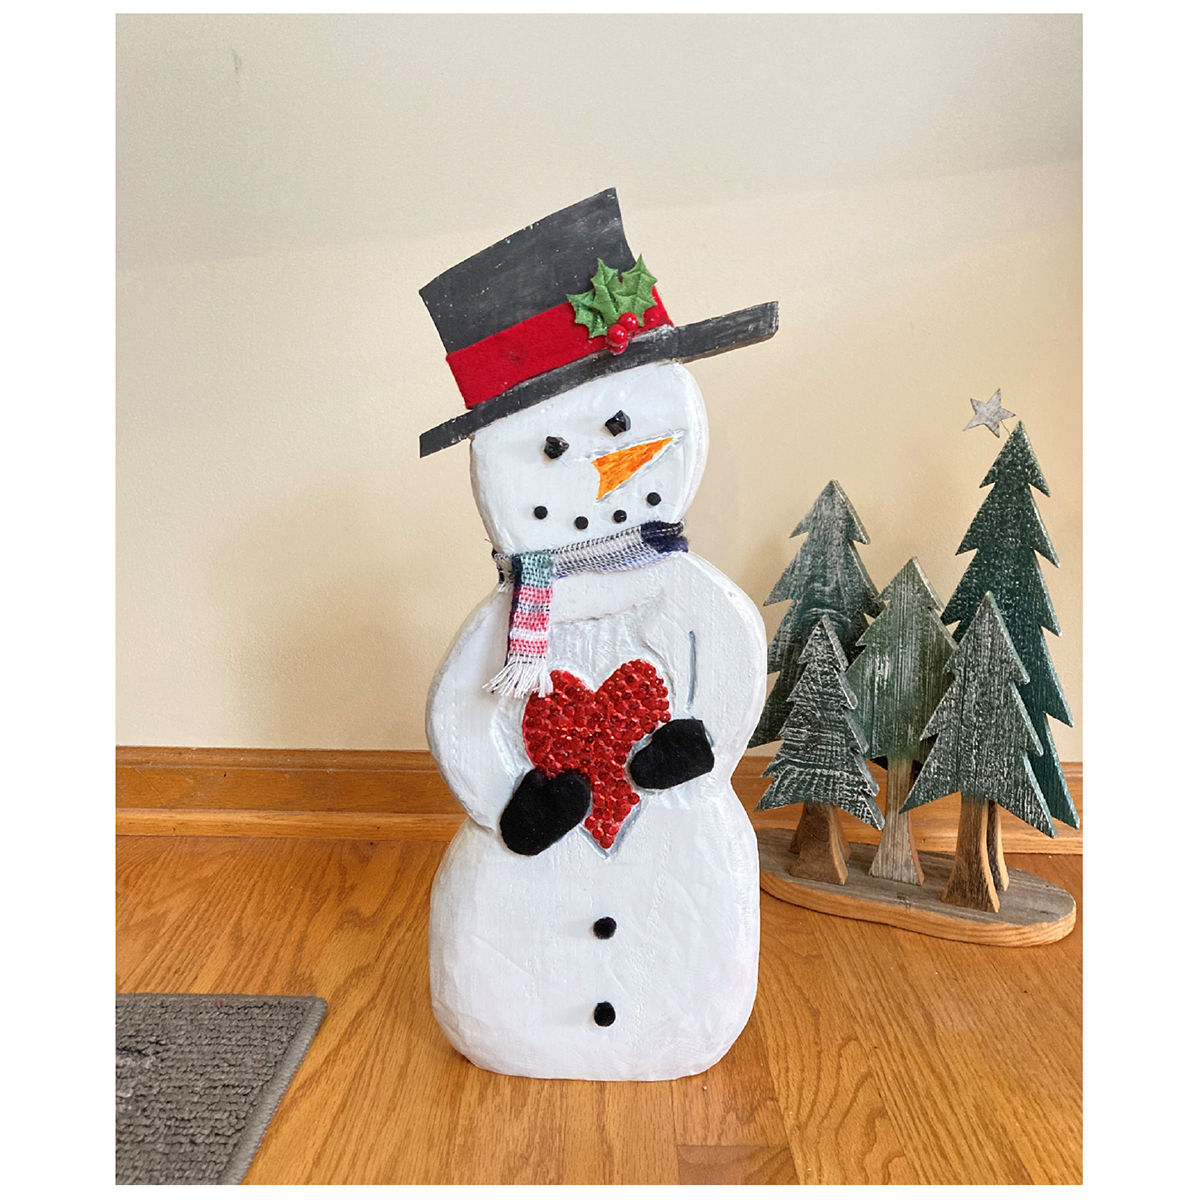
Did you ever wish you could bring your snowman in from the cold without it melting? This DIY decoration is a simple and fun way to do just that. Not only is it easy, but the snowman can be customized to whatever personality you want it to have that reflects you and your decor. Whether it’s above or below freezing, your snowman will be there to welcome family and friends as they enter your home to celebrate the season.
Materials:
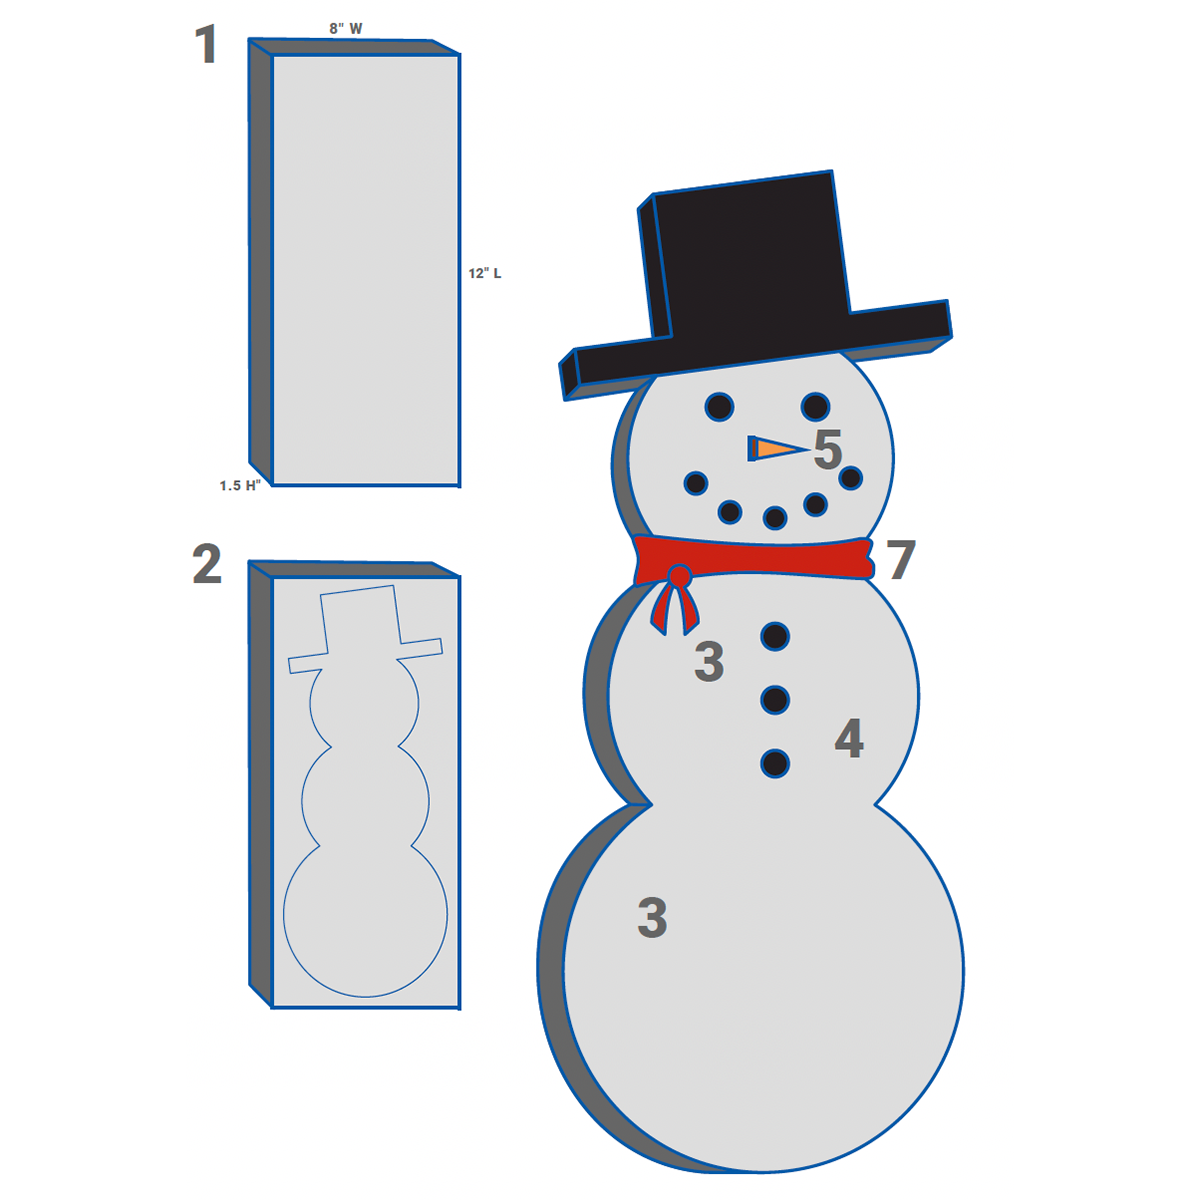
- 1.5″ thick x 8″ wide x 12″ long piece of lumber board
- Fabric and buttons (optional)
- Paint / wood stain (optional)
Recommended Tools:
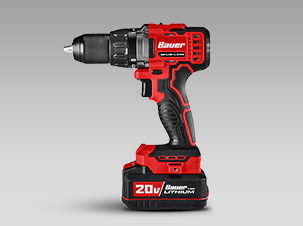
- Bauer 20v Cordless Variable Speed Jig Saw (Item 63630)
- Warrior 4″ 6TPI T-Shank Clean Wood Jig Saw Blades, 5 pk. (Item 68072)
- 7 Amp 4-1/2″ Slide Switch Angle Grinder (Item 64856)
- Bauer 4-1/2″ x 7/8″ Arbor 40 Grit Flap Disc (Item 57764)
- Bauer 4-1/2″ x 7/8″ Arbor 120 Grit Flap Disc (Item 57758)
- Bauer Variable Speed precision Crafting Rotary (Item 57001)
- Chicago Electric 1-1/2″ Rotary Cut-Off wheels 3 Pk. (Item 34749)
- Bauer 20v Cordless Full Sized Glue Gun (Item 57997)
- Battery and Charger (if needed)
Follow These Steps:
- Start with a 1.5″ thick x 8″ wide x 12″ length piece of lumber board. See note below.
- Sketch out a design on the wood.
- Use the Bauer Jig Saw (Item 68072) and blade to cut out the outer shape.
- Use the Bauer Angle Grinder (Item 64856) and flap disc to shape the body. The flap disc can be used to create heavy groove lines in your design where needed.
- Use the Bauer Rotary Tool (Item 57001) with included sanding accessories to smooth out grooves. It can also create finer details, such as the carrot by using alternate accessories. To smooth out larger rough areas, use 1/4 sheet sandpaper to sand by hand.
Shape to your liking! - If desired, paint and/or stain the finished piece.
- Using the Bauer Glue Gun (Item 57997) to attach fabric and buttons is another way to personalize
your snowman. - Enjoy with hot chocolate!
See all of Harbor Freight’s DIY project instructions at hf.tools/diy. With Harbor Freight Tools, you can do it yourself!









You must be logged in to post a comment.