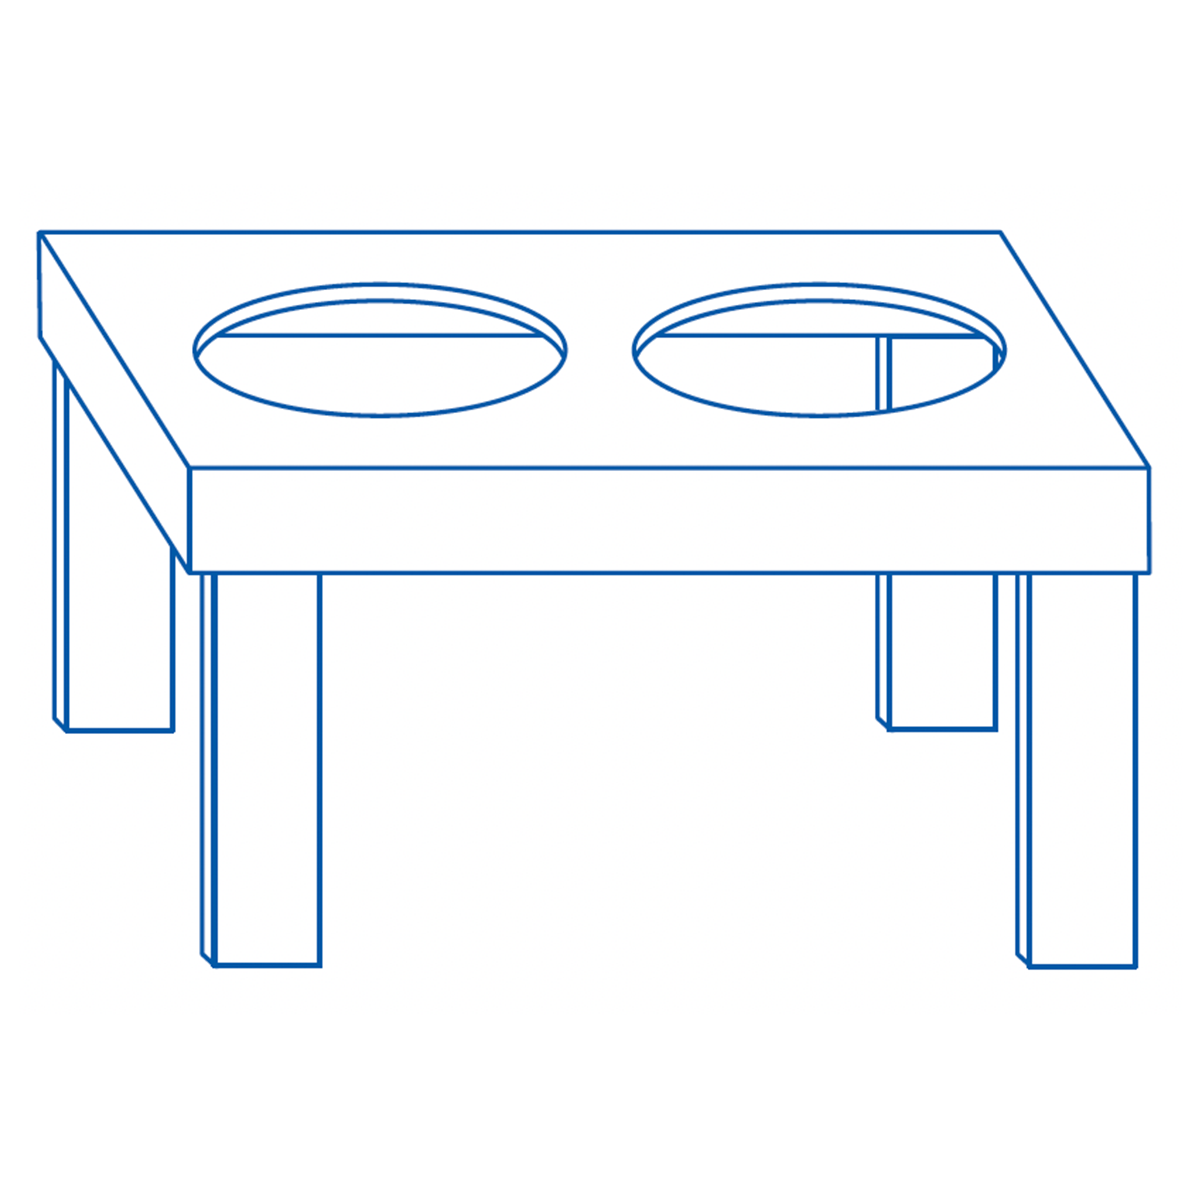
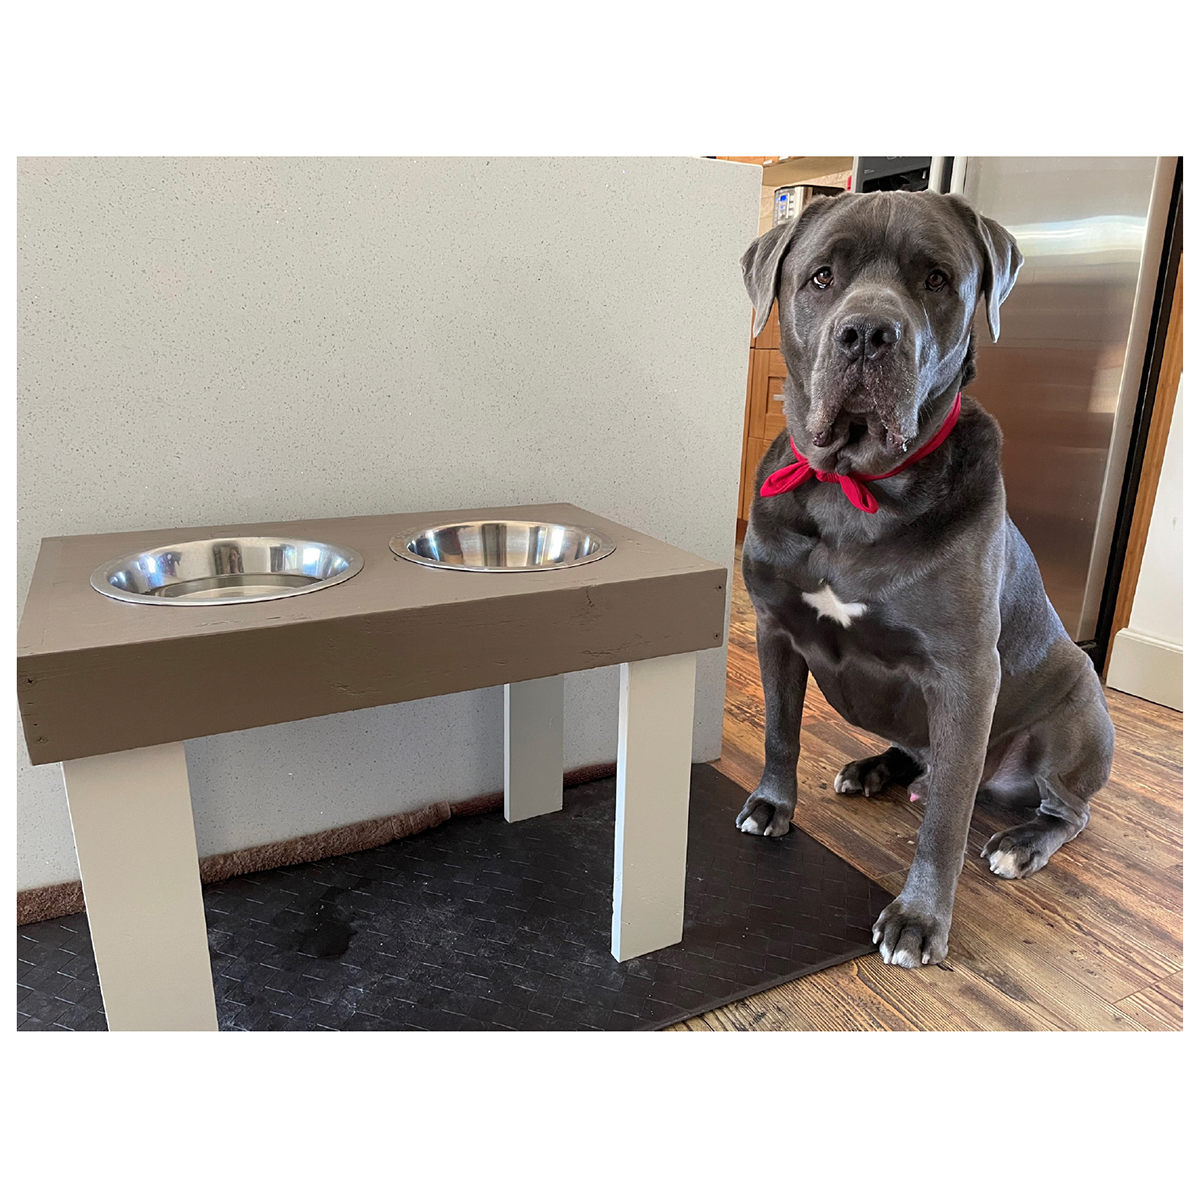
This is a fun and simple project that has the added benefit of re-purposing scrap wood. Feel free to make it your own and adjust dimensions to fit the desired number and size of bowls, to feature natural wood grain, or custom paint of your choosing!
Materials:
Locate pallets /scraps with 3.5″ width that can be cut into the following lengths:
- Legs: (4) 18″ long pieces (can be adjusted)
- End pieces for top: (2) 14″ pieces
- Side/top pieces: (2) 25.5″ pieces
- Segments for top: (4) 24″ pieces
- Wood glue
- Wood Screws – 1″ to 1-1/8″ length
- Optional: Brushes, paint or stain
Recommended Tools:
- Bauer 20v 1/4″ Impact Driver Kit (Item 64755)
- Bauer 20v 6-1/2” Circular Saw (Item 63634)
- Bauer 6-1/2” 24T Circular Saw Blade (Item 63907)
- Bauer 20v 3.0Ah Battery (Item 64816)
- Bauer 20v Rapid Charger (Item 63947)
- Bauer 20v Jig Saw (Item 63630)
- Bauer T-Shank General Purpose Jig Saw Blade Set, 30pc. (Item 64071)
- Bauer 20v Corner/Detail Sander (Includes Sandpaper) (Item 56178)
- (2) 24″ Bar Clamps
Follow These Steps:
- Cut the pieces to length with the circular saw. Adjustments can be made based on the width of your scraps, or the size of your dog.
- Sand all pieces to desired finish. (Recommend 80,120, 220).
- Lay the (4) 24″ pieces side-by-side length-wise, verify matching dimensions. Then apply wood glue between pieces length-wise, and place all (4) pieces in (2) bar clamps. Let cure for 24 hours.
- Remove from clamps, use sander to remove excess glue and level the surface.
- On the combined piece, trace the desired dog bowl diameter based on the inner-most rim, so that the lip can rest above the opening.
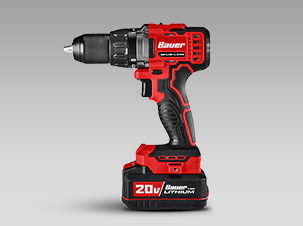
- Use a drill to make a hole that is wide enough to allow the jig saw blade to be inserted on the inside line of the bowl trace line.
- Use the jigsaw to cut the trace line for each bowl cut-out.
- Line the 14″ end pieces up on the ends, then pre-dill (2) holes through the end piece and into the side of the top piece.
- Next, screw the end pieces into place.
- Place the 25.5″ pieces along the sides, then pre-drill (4) holes for each piece.
- Screw the side pieces into place.
- Locate the (4) legs, now place wood glue inside the corners of the top piece where each leg will make contact. Place the legs and secure them with clamps.
- After the glue has cured, pre-drill the side into the legs and secure the legs with wood screws for added stability.
- Lastly, paint, wood burn, carve or stain to your heart’s desire!
See all of Harbor Freight’s DIY project instructions at hf.tools/diy. With Harbor Freight Tools, you can do it yourself!








You must be logged in to post a comment.