
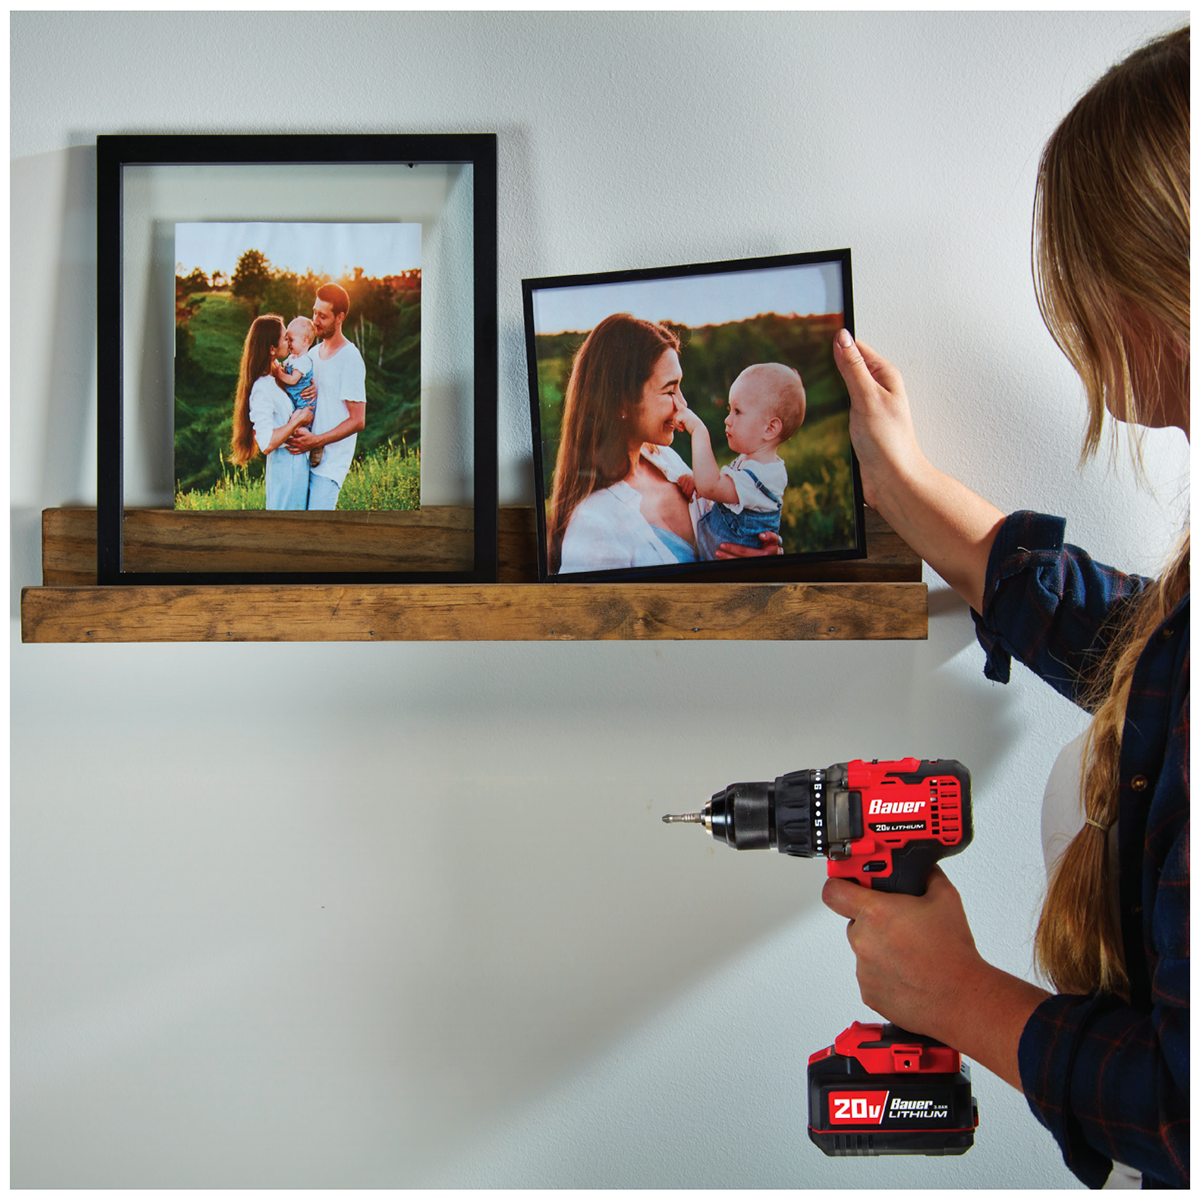
Dress up any wall with this modern picture frame shelf that only takes minutes to create! Adjust the project to your desired measurements to fit the number of frames that works for you.
Materials:
- (1) 1″ x 2″ Hardwood Board
- (1) 1″ x 3″ Hardwood Board
- (1) 1″ x 4″ Hardwood Board
Recommended Tools:
- Bauer 20v HYPERMAX Lithium-Ion Cordless 6-1/2″ Circular Saw (Item 63634)
- Bauer 20v HYPERMAX Lithium-Ion Cordless 5″ Random Orbital Sander (Item 64943)
- Bauer 20v HYPERMAX Lithium-Ion Cordless 1/2″ Drill/Driver (Item 56725)
- Bauer 20v HYPERMAX Lithium-Ion 3.0 Ah High Capacity Battery (Item 64816)
- Bauer 20v HYPERMAX Lithium-Ion Rapid Charger (Item 63529)
- Bauer Titanium Drill Bit Set, 21 Pc. (Item 63911)
- Bauer Impact Drill And Driver Bit Set, 35 Pc. (Item 63910)
- Bauer 6-1/2 In. 24T Framing Circular Saw Blade (Item 63907)
Follow These Steps:
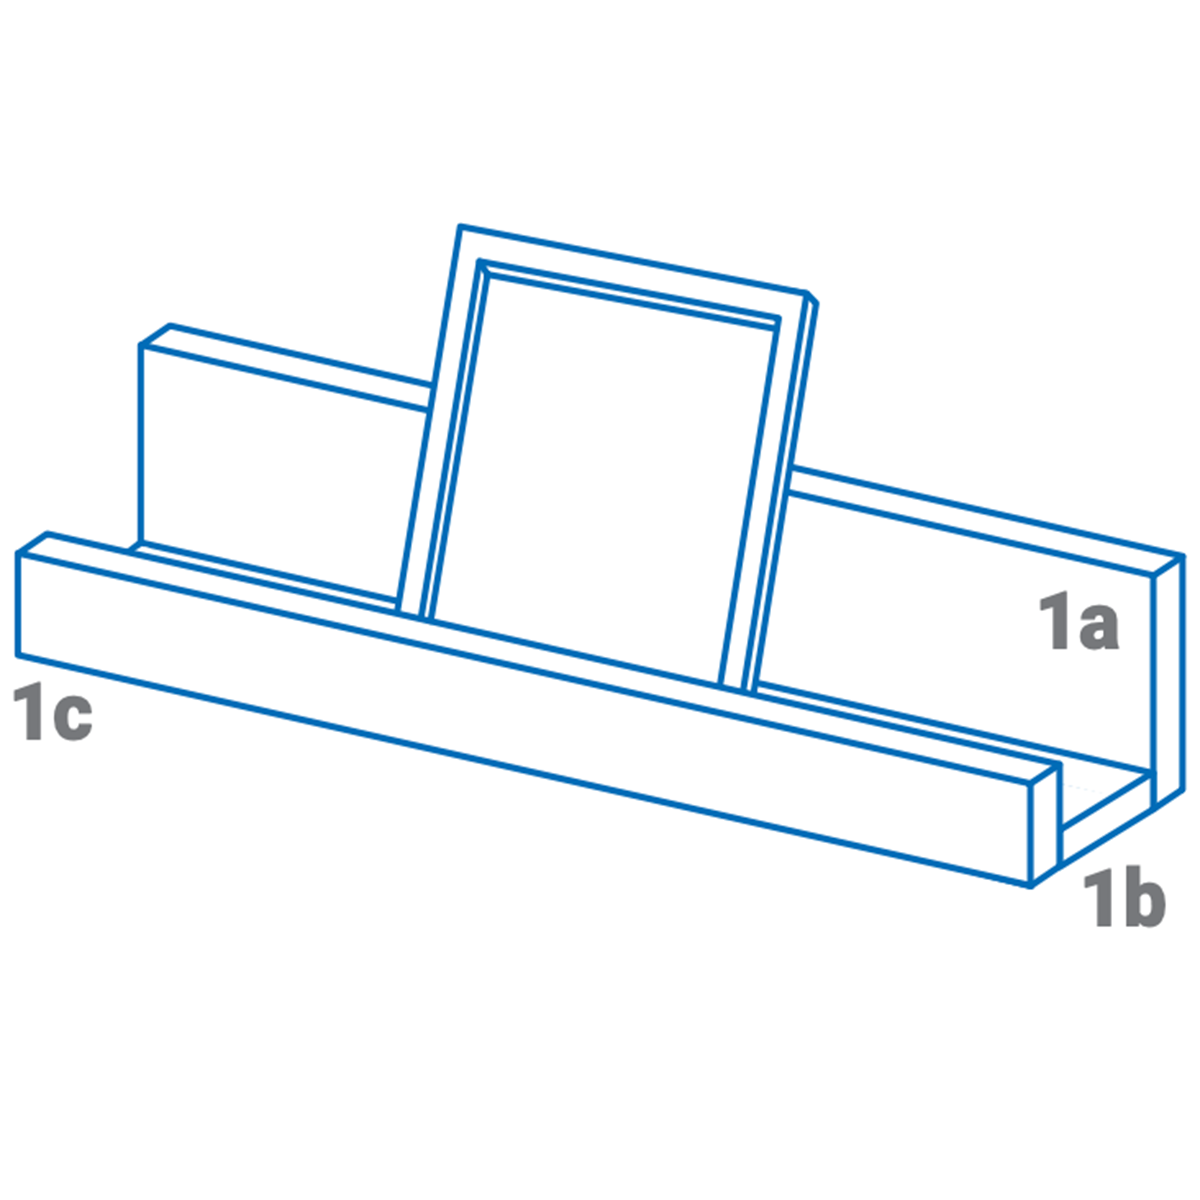
- Using 1″ x 4″, 1″ x 3″, and 1″ x 2″ pieces of hardwood, cut to your desired length using a circular saw and 24 Tooth blade. We recommend cutting each board to 28″ in length to fit three 5″ x 7″ picture frames.
- a. 1″ x 4″
- b. 1” x 3″
- c. 1″ x 2″
- Sand all pieces of wood using a 1/4 Sheet Sander and 100 grit sandpaper before assembling.
- Using the Bauer Titanium Drill Bit Set (Item 63911), drill pilot holes through the 1″ x 4″ into the edge of the 1″ x 3″ board. Secure with 1-5/8″ wood screws.
- Attach the front piece, the 1″ x 2″ piece of wood cut to your desired length, using framing nails and a hammer.
- If desired, stain the assembled shelf using an interior grade wood stain.
- Using the appropriate mounting brackets for your surface, mount two brackets on the rear of your shelf, 1″ in from each side.
See all of Harbor Freight’s DIY project instructions at hf.tools/diy. With Harbor Freight Tools, you can do it yourself!


You must be logged in to post a comment.