

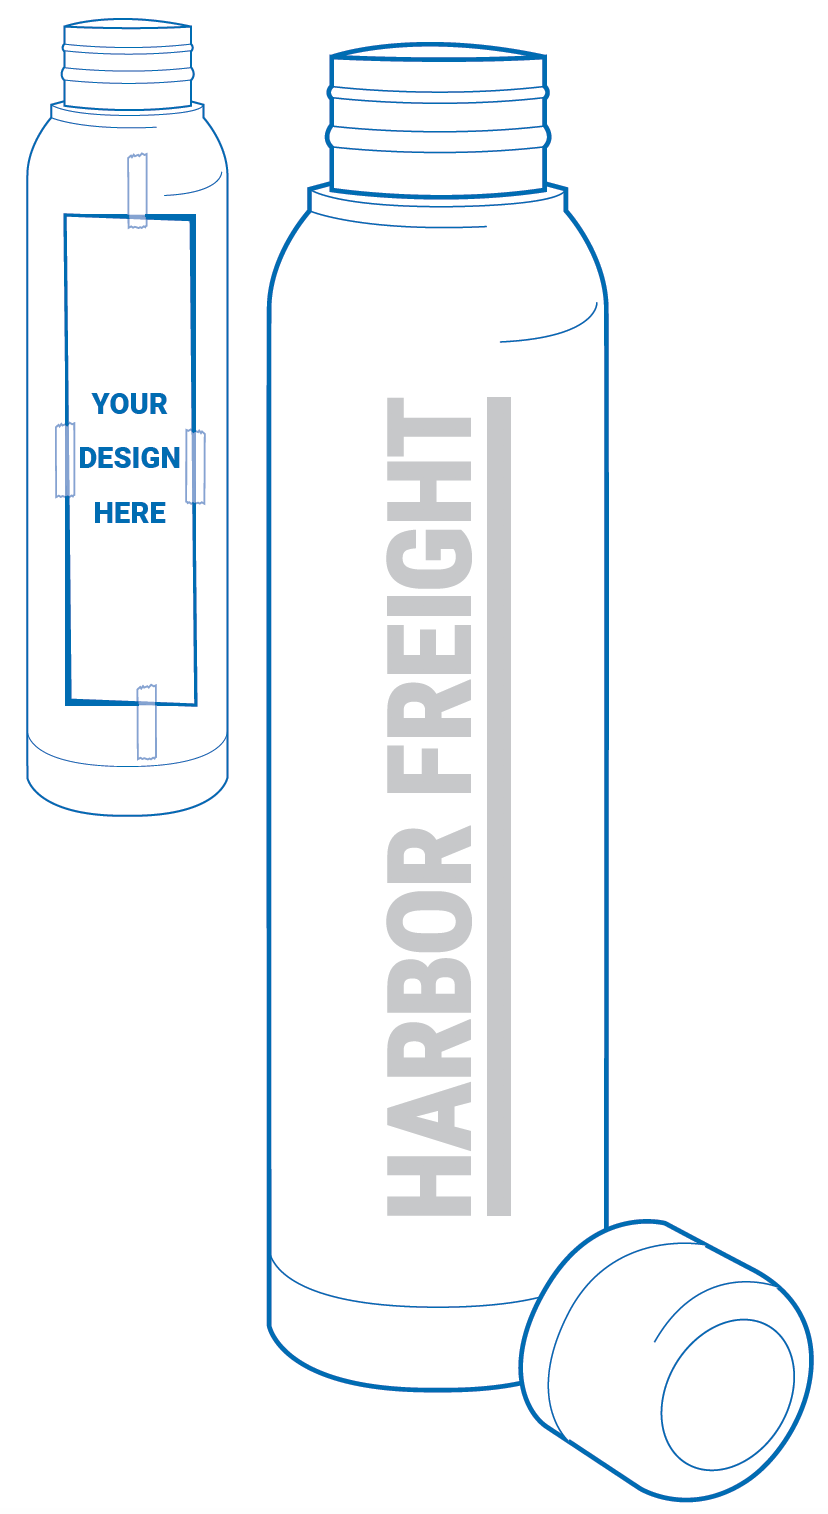
Very few things are more gratifying than when you make something yourself. By following these steps, you can take a metal container and personalize it yourself simply and easily.
Materials:
- (1) Metal Container
- (1) Sheet of Carbon or Graphite Paper
- (1) Pencil or Pen, Tape and Scissors
Recommended Tools:
Follow These Steps:
- Find and print out a design that fits on your container.
- Cut out the design along with a piece of carbon paper that’s the same size as your design.
- Lay the “transfer side” of the carbon paper down on your container and place your design on top of it. Secure everything with tape.
- Trace the design with a pencil or pen.
- Now you’re ready to remove the paper. You should see the outline of your design on your container.
- You can start tracing your design with an engraving bit on the rotary tool. Light pressure to start, then heavier pressure as you get a feel for the tool.
- Clean off the container to remove any debris and enjoy.
Note that doing this project freehand can be cool and creative too. Have fun!
See all of Harbor Freight’s DIY project instructions at hf.tools/diy. With Harbor Freight Tools, you can do it yourself!


You must be logged in to post a comment.