
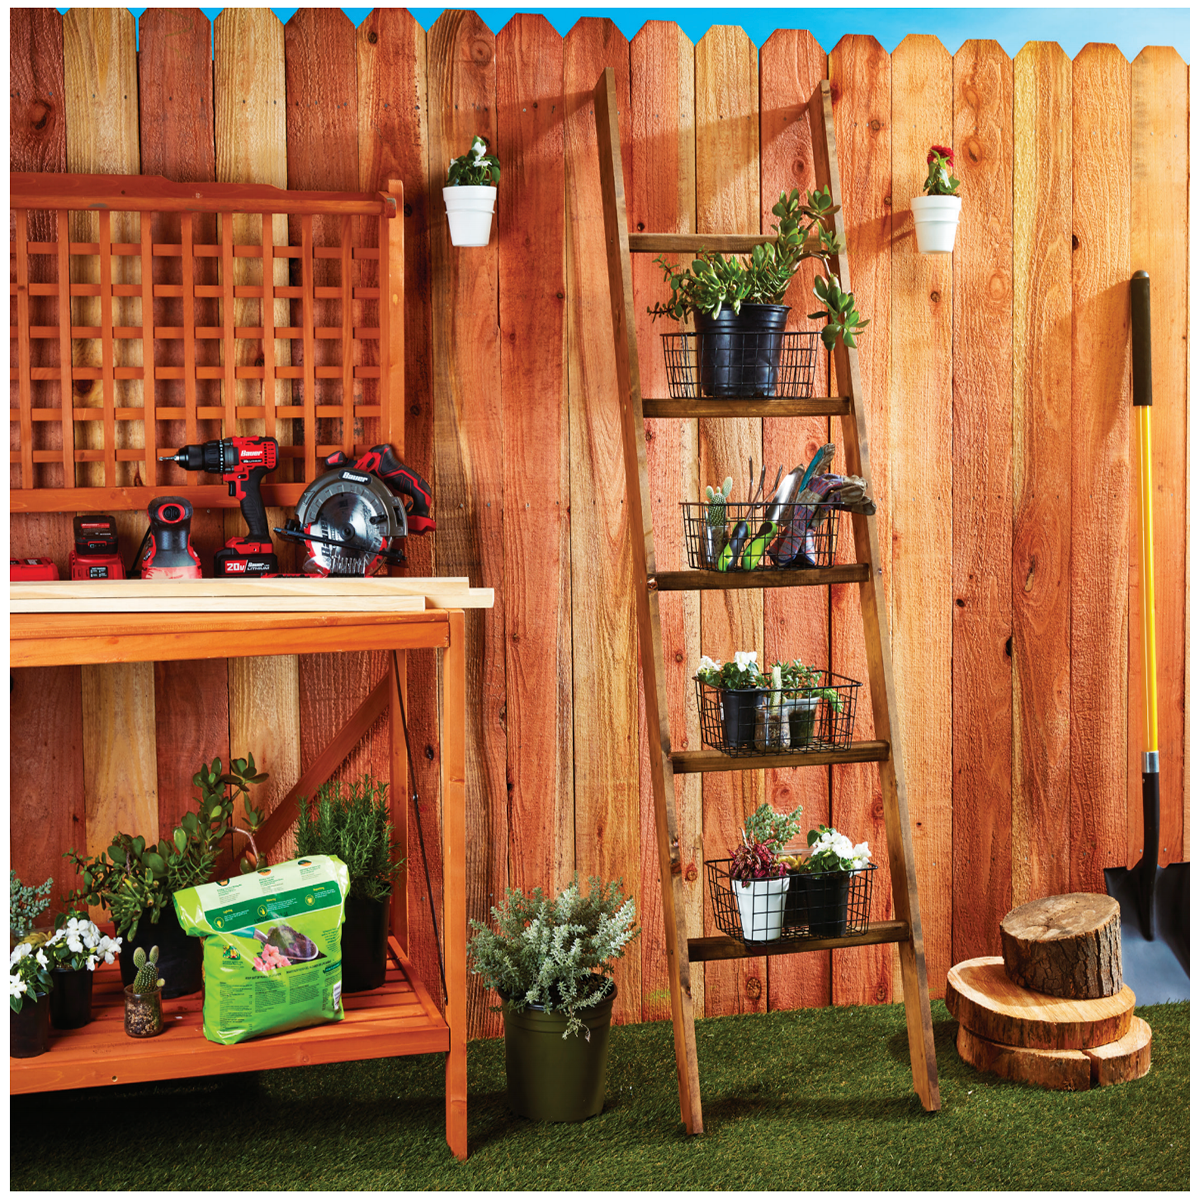
Decorative ladders have many uses but tend to carry a hefty price tag when pre-made. Skip that cost by building your own with this simple decorative ladder DIY! You can use your ladder to showcase your favorite blankets, tie baskets from the rungs to use as storage, or even hang jars filled with herbs to add some spice to your garden.
Materials:
- (2) 1″ x 3″ Hardwood Board
- (2) 1.5″ x 1.5″ Hardwood Board
- (8) 1-5/8″ Wood Screws
- Wood Stain
- Paint Brush for Stain
Recommended Tools:
- Bauer 20v HYPERMAX Lithium-Ion Cordless 6-1/2″ Circular Saw (Item 63634)
- Bauer 20v HYPERMAX Lithium-Ion Cordless 5″ Random Orbital Sander (Item 64943)
- Bauer 20v HYPERMAX Lithium-Ion Cordless 1/2″ Drill/Driver (Item 56725)
- Bauer 20v HYPERMAX Lithium-Ion 3.0 Ah High Capacity Battery (Item 64816)
- Bauer 20v HYPERMAX Lithium-Ion Rapid Charger (Item 63529)
- Bauer Titanium Drill Bit Set, 21 Pc. (Item 63911)
- Bauer Impact Drill And Driver Bit Set, 35 Pc. (Item 63910)
- Bauer 5″ 100 Grit Hook And Loop Universal Pattern Sanding Discs, 15 Pk. (Item 57419)
- Bauer 6-1/2 In. 24T Framing Circular Saw Blade (Item 63907)
Follow These Steps:
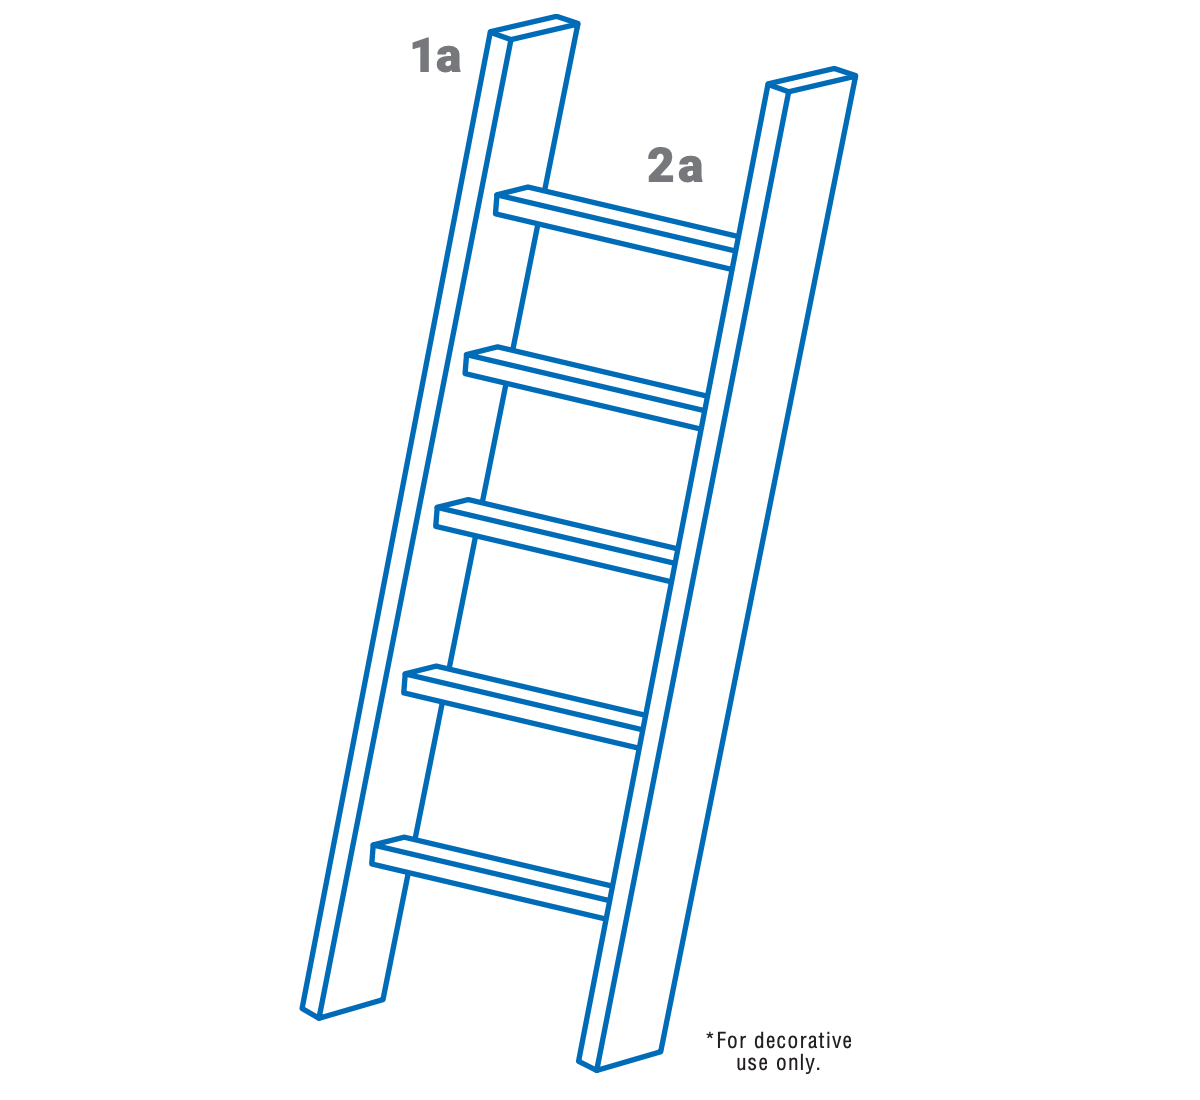
- Using the Bauer 20v HYPERMAX Lithium-Ion Cordless 6-1/2″ Circular Saw (Item 63634) and (2) 1″ x 3″ pieces of hardwood board, cut your board to length for the side pieces of your ladder. Our recommended lengths are: a. (2) 6ft. pieces.
- Using a piece of 1.5″ x 1.5″ hardwood, cut out the pieces for your rungs. Our recommended lengths are: a. (5) 1.5ft. pieces
- Once all of your pieces have been cut, use the Bauer 20v HYPERMAX Lithium-Ion Cordless 5″ Random Orbital Sander (Item 64943) and the Bauer 5″ 100 Grit Sanding Discs to refine any rough edges.
- Using the Bauer 20v HYPERMAX Lithium-Ion Cordless 1/2″ Drill/Driver (Item 56725) and the Bauer 21 Pc. Titanium Drill Bit Set (Item 63911), drill pilot holes through the side pieces into the ends of each rung. Space the top and bottom rungs 1ft. from the top and bottom of the ladder. Space the remaining 3 rungs evenly between the top and bottom rung.
- Secure the rungs into place using 1-5/8″wood screws.
- If desired, wipe your wood clean and apply stain of your choice.
- Anchor to wall for added stability.
See all of Harbor Freight’s DIY project instructions at hf.tools/diy. With Harbor Freight Tools, you can do it yourself!


You must be logged in to post a comment.