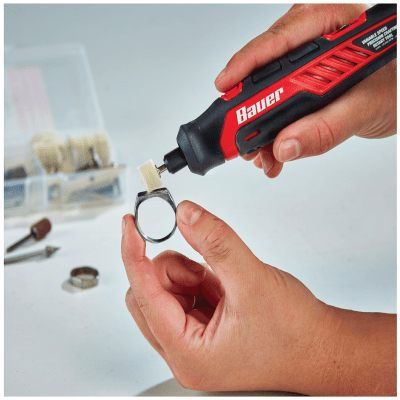
Did you know you can make a ring from a regular steel nut? All you need is a rotary tool! This will be a piece of jewelry you will be proud to wear, and we can guarantee those around you will ask for you to share your secret craftsman abilities.
Materials:
- (1) Steel Nut
Recommended Tools:
- Bauer Variable Speed Precision Crafting Rotary Tool (Item 57001)
- Warrior 9″ x 11″ Wet/Dry Sanding Sheets Assortment 10 Pk. (Item 63778)
Follow These Steps:
- Clamp your steel nut using a vise or other stable clamp.
- Using the Bauer Variable Speed Precision Crafting Rotary Tool (Item 57001) and a grinding bit, begin to file the inner diameter of the nut. Be careful to take the filing slow so that you do not enlarge the nut beyond fitting the desired finger.
- Once the center of the nut is enlarged, determine the shape you would like your ring to have. If you would like a thinner ring, use a hacksaw to remove the edges after outlining your cut with a marker.
- Once your ring is the desired thickness, use your rotary tool to grind all but two of the corners of the nut into a rounded shape.
- When you have your nut shaped to your liking, use wet/dry sandpaper to sand and polish your nut. Start with the lowest grit and move to the highest until your ring is fully shined.
See all of Harbor Freight’s DIY project instructions at hf.tools/diy. With Harbor Freight Tools, you can do it yourself!
